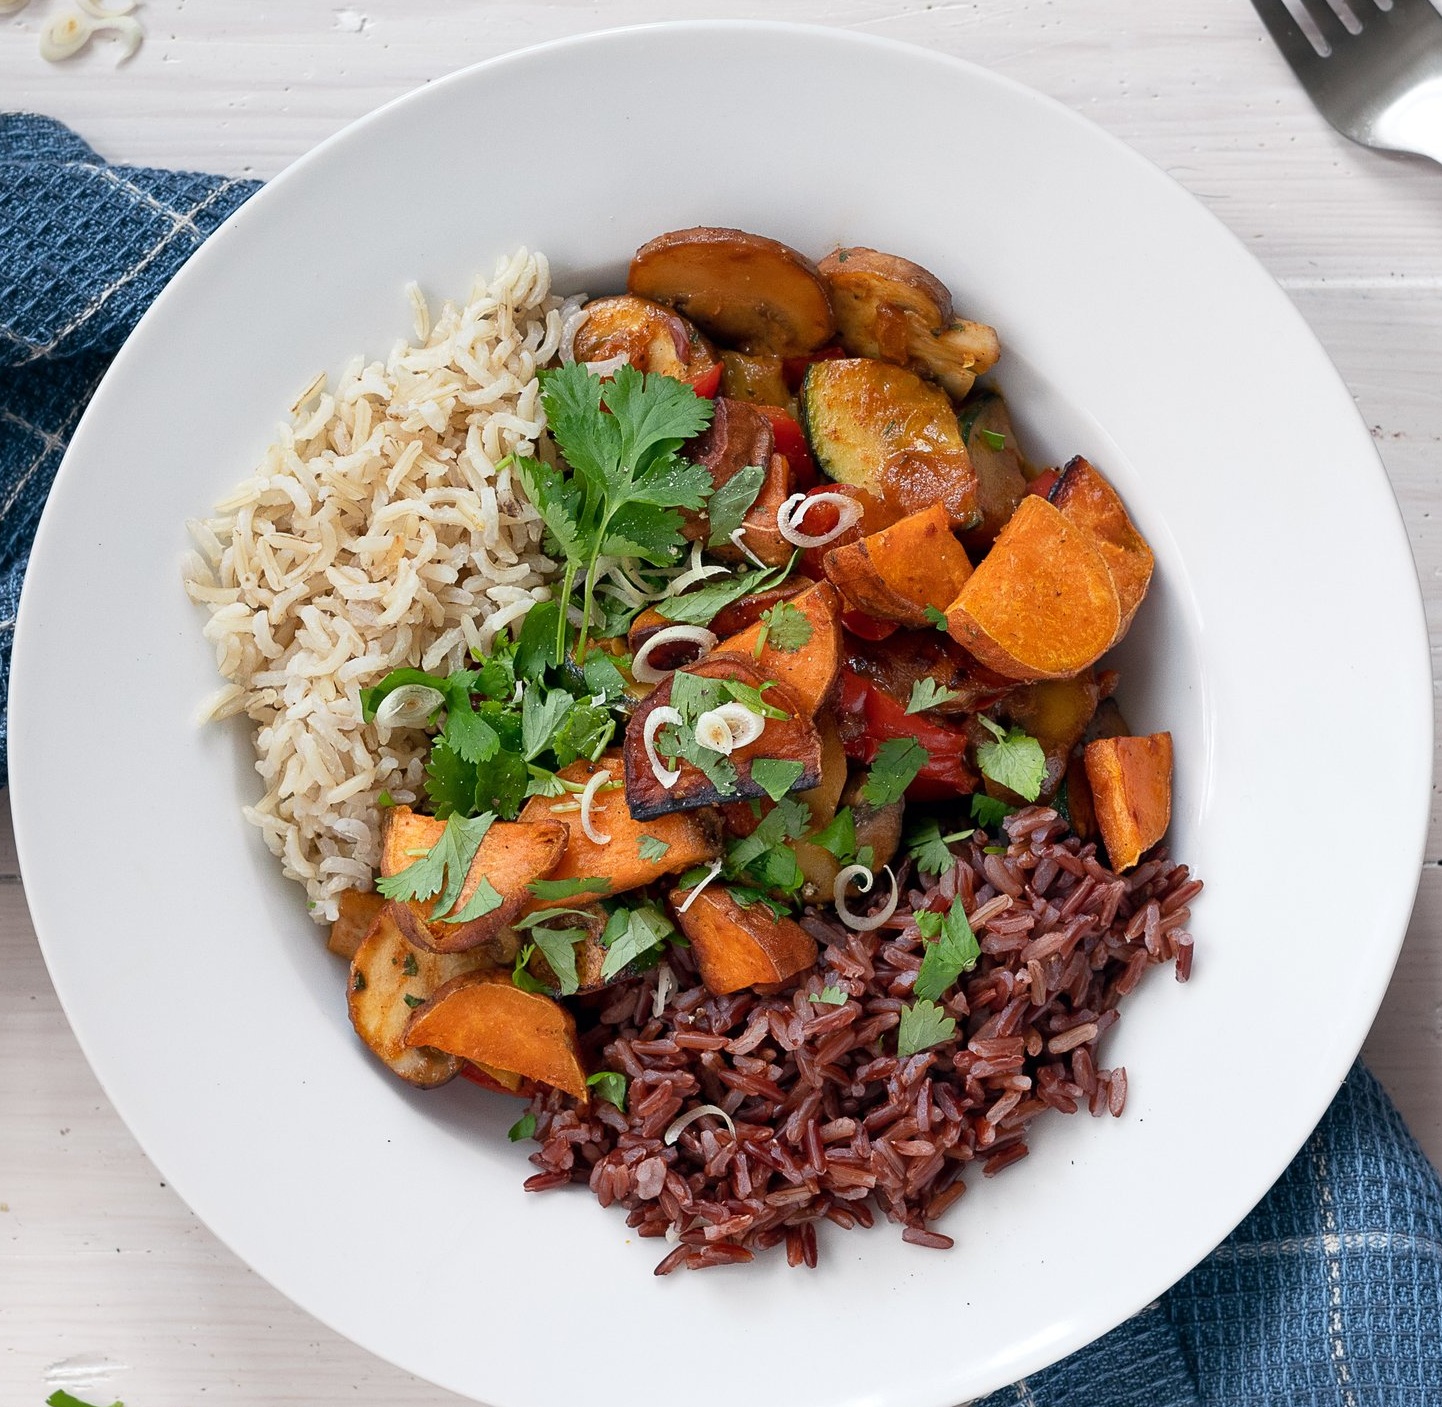
The 30 Minute Nourish Bowl

Here’s a little something about me…I don’t love cooking. Pinterest recipe boards overwhelm me and cooking with more than 5-10 ingredients feels exhausting. So this meal is our go-to most nights of the week!
Whether you love cooking, or not so much, this meal is a must-try. No matter what your preferences, lifestyle, time constraints, or dietary needs, I’ll bet it can fit into the Nourish Bowl.
You may have heard it called “Nourish Bowl, “Buddha Bowl,” or “Power Bowl.” But call it what you want, it’s the MVP of diverse nourishment if you ask me.
Why the Nourish Bowl?
-It includes a wide variety of plants. The number one indicator of gut health according to gastroenterologist Dr. Will Bulsiewicz is the diversity of plants that you eat. They’re THAT important.
-It’s packed with vitamins and minerals.
-It’s full of fiber, which is important for motility and a healthy gut flora.
-It allows for endless variety and creativity, so it can be adapted easily according to the needs and preferences of your family. No more making multiple dishes to suit each family member for dinner. Sweet, savory, crunchy, chewy, raw, cooked, sautéed, roasted, themed, eggs/fish/meat, plant-based. You choose!
-It’s ready in about 30 minutes.
-It’s cost effective and reduces food waste.
Ready to give it a try?
Creating Your 30 Minute Nourish Bowl:
First you’ll need to find a really good bowl. One that makes you happy to look at, is just the right depth and width, a material that you love like wood or ceramic…all of your senses matter! Do you have certain bowls and plates that you love??
Got your bowl? Ok, now follow these 5 simple steps:
Chop and roast/sauté your vegetables in a pan (450 degrees for about 20 min).
Remove the pan from the oven and add your pre-cooked carbs and proteins to the pan. Then put it back in the oven for 4-5 minutes to heat through.
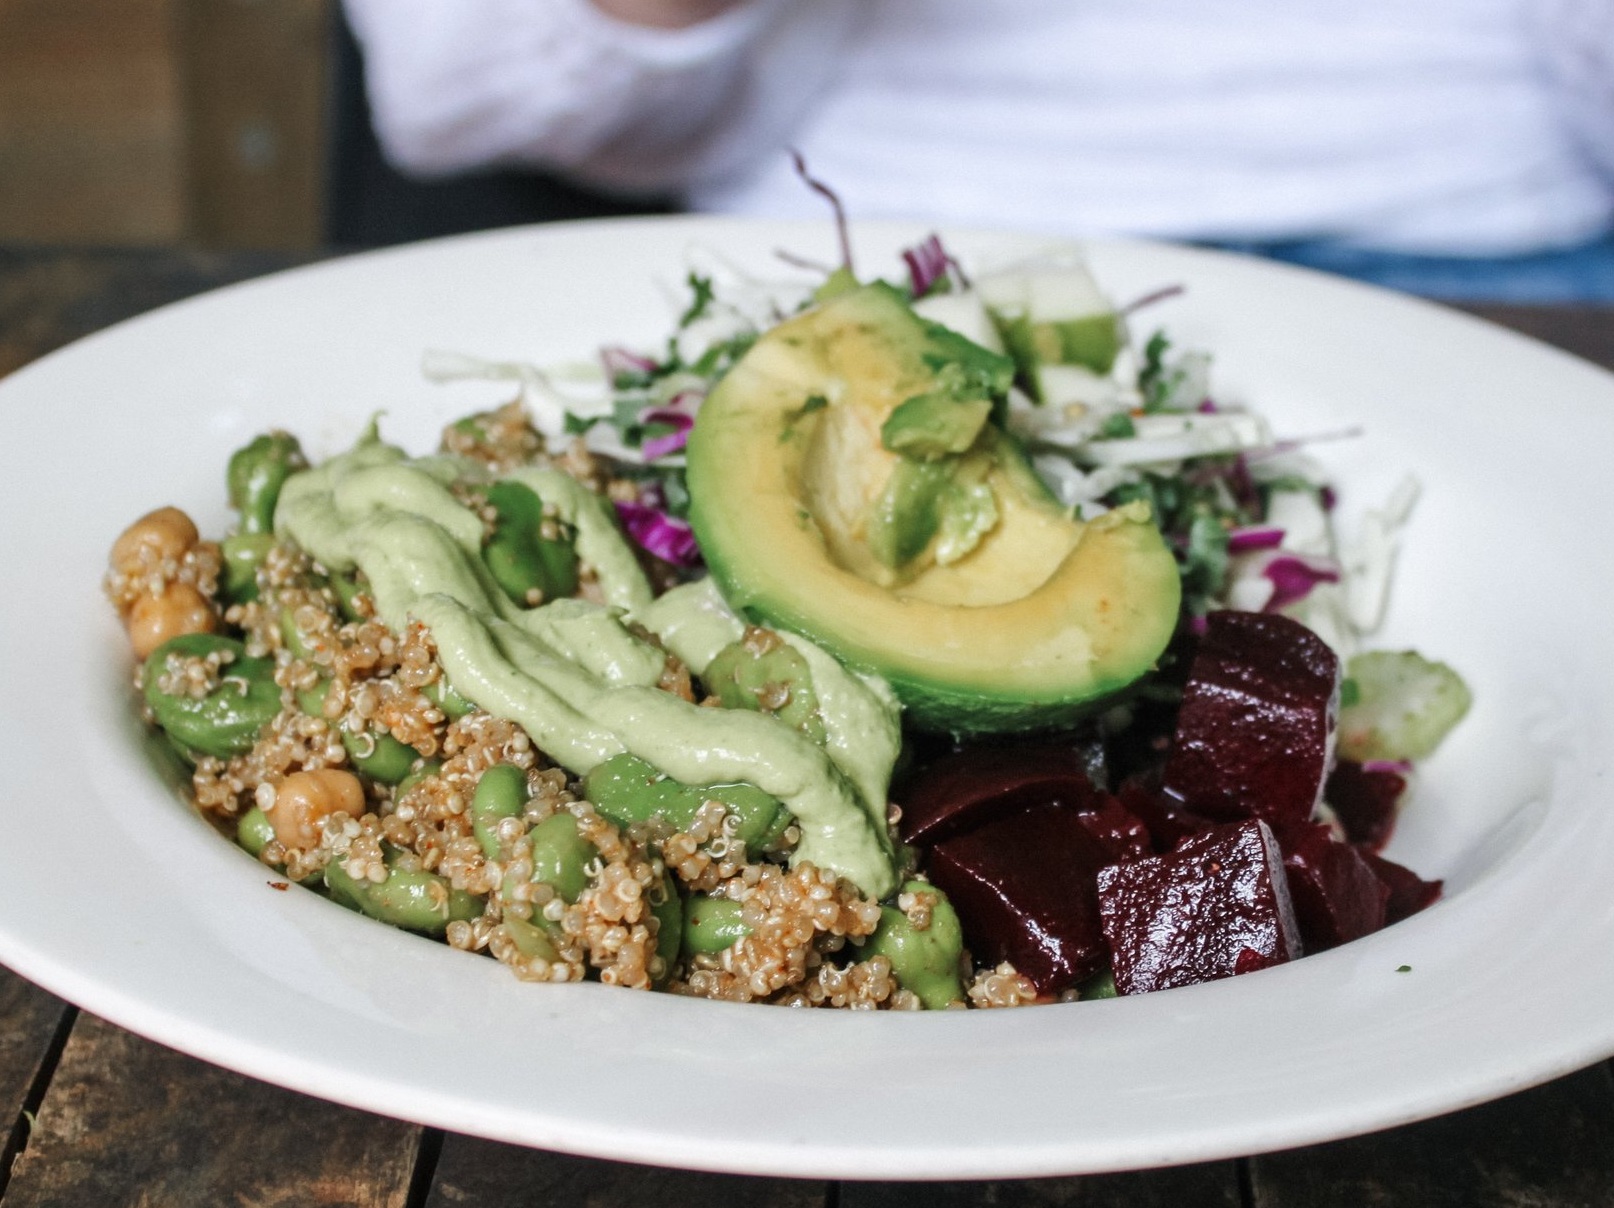
***Tip: Batch cook your carbs for the week (roast some potatoes, steam a big pot of rice, cook your pasta) as well as your proteins if they need cooking. Then store them in the refrigerator so they’re ready and easy to add to your Nourish Bowls through the week.Fill the bottom of your serving bowl with raw greens (raw greens are important for rich antioxidants!)
***Tip: If you or your kiddo are thinking “RAW greens…no thanks,” try dicing spinach very finely, as spinach is neutral tasting, and it will wilt, disguising the texture and taste.Remove the pan from the oven and empty it on top of your raw greens.
Finish by topping with your favorite dressing/sauce add-ons/superfoods.
*Tip for making Nourish Bowls work for a family with different needs and preferences: Follow the above steps, but instead of heating everything on the same pan, cook a few vegetables in separate dishes, and heat a few carbs and proteins in different dishes. When it’s time to eat, give each family member their favorite bowl filled with greens at the bottom and let them top it with whatever veggie/carb/protein/sauce/and add-ons they like!
Here’s a template to show you lots of diversity in each category! Just choose 2-3 foods from each category to grab at the grocery store each week so you have a wide variety in your bowl. Want to make your own template full of ingredients that YOU love for each category? I’ve created a blank template for you to print off so you can fill it out based on your preferences and post it to your fridge! Just click the button below to download it!
